Editing transactions
You can edit many elements of a transaction, either one at a time or in bulk.
Learn how to edit transaction details, add notes or labels, and split transactions.
If you want to delete transactions, see: Deleting transactions
In this user guide
Editing a single transaction
There may be times when you want to edit the details of a single transaction. You can edit the following parts of a transaction:
- Date
- Merchant name
- Category
- Amount
- Transaction type
-
Mark as a transfer
(see also Setting up transfer marking in PocketSmith)
- Notes
- Labels
- Splitting the transaction (see Splitting a transaction)
Steps to edit a single transaction
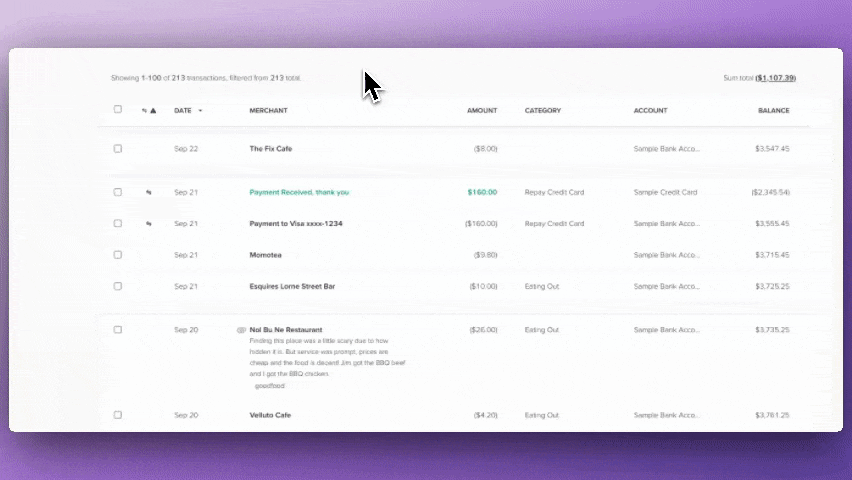
- Head to the Transactions page
-
Click on the transaction and the transaction will become editable

- Edit the parts of the transaction that you'd like to change
- Click Save
Note
- If a Renamed button is showing on the transaction edit form this means your merchant name has been edited or renamed, either manually, or by a filter. If the edited merchant name isn't correct, then you can restore the original merchant name as shown here
-
Similarly, if a Filtered button is displayed, this means the transaction has been edited in some way by a filter or category rule, hover over the button to see the details of the filter or category rule.
If a transaction was incorrectly edited or renamed by a filter or category rule, you'll need to edit the filter or category rule to prevent similar transactions being incorrectly edited in the future. For more detail about editing filters see: Everything you need to know about filters. For more details about editing category rules see: Editing & deleting category rules.
Tips
You can edit a transaction field in one click by clicking directly on that field. It will open the transaction edit form with that field in focus.
You don't need to get out a calculator if you want to do a simple calculation in the amount field. Just type your calculation in the amount field to subtract (-), add (+), multiply (x) or divide (/) and then hit enter to get the result 🧮
Editing multiple transactions in bulk
If you would like to edit multiple transactions at the same time, the following actions can be applied in bulk:
- Rename to
- Categorise as
- Label with
- Mark as transfer
- Unmark as transfer
- Delete
Steps to edit multiple transactions using the transaction search
- Use the transaction search to locate the transactions you would like to edit in bulk
-
Use the checkboxes to the left to select the transactions you want to edit.
Use the checkbox in the top corner to select all transactions listed on the page.
- Select More from the toolbar
- Choose the actions you would like to apply from the drop-down menu
- Click Apply to apply these changes to all of the selected transactions


Steps to edit multiple transactions using the legacy transaction search
-
Use the search panel to locate the transactions you would like to edit in bulk.
For example, if you are searching for all transactions from a particular merchant, enter the merchant keyword in the search panel under 'Merchant includes', then click SEARCH.

Tip:
To collapse the search panel and view your search results, click the magnifying glass in the top right of the panel

-
Use the checkboxes to the left to select the transactions you want to edit.
Use the checkbox in the top corner to select all transactions listed on the page.
- Select More from the toolbar
- Choose the actions you would like to apply from the drop-down menu
- Click Apply actions to apply these changes to all of the selected transactions

Splitting a transaction
Splitting transactions is simple in PocketSmith! 🖖 🧮
Learn how to split a transaction into two or more transactions here: Splitting transactions
Restoring the original merchant name to a transaction
Occasionally, a filter may incorrectly rename a transaction. If so, you can restore the original merchant name to the transaction following the steps below.
- Locate the transaction you want to restore to the original merchant on the Transactions page
- Click on the transaction to open the full transaction
- Click Renamed
- The original merchant will then show, click on Restore
- The merchant name in the form will then change to the original merchant, click Save to confirm the change
